Connect your first CMS and start growing your traffic
Babika is a tool for growing your traffic from SEO and from AI search. It connects directly to your CMS, wherever it lives, and gives you a powerful content management and editing system on top of it. This guide takes you from a fresh account to your first agent run, in about ten minutes.
01Create your account
Head to babika.ai/sign-up and pick how you want to start. The free plan is free forever: 300 credits every month, no credit card, every feature included. The 30-day free trial gives you 1,500 credits a month instead; it asks for a card up front, charges nothing for 30 days, and you can cancel anytime.

02Connect your site
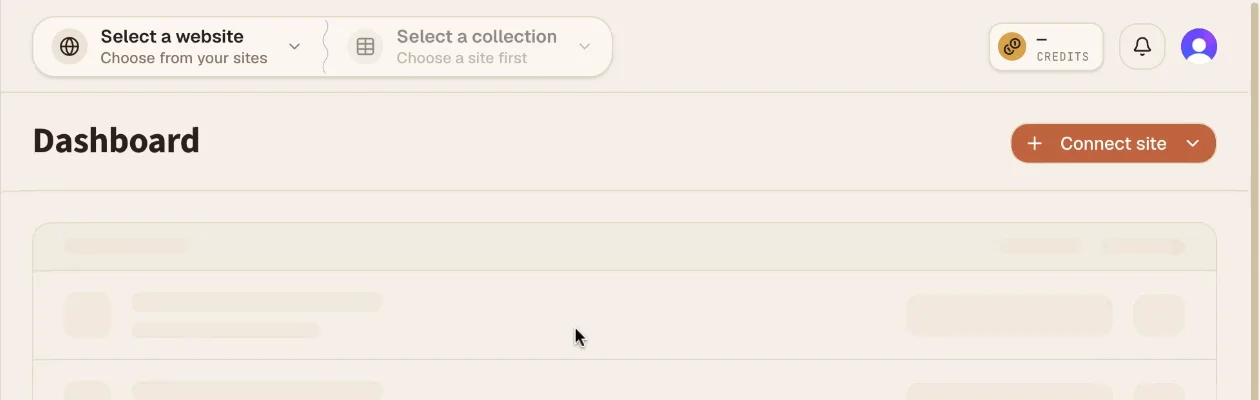
After signing up you land on your workspace. Click Connect site in the top right and pick your platform: Webflow, WordPress, Shopify, HubSpot, or Ghost. The rest of this guide follows the Webflow path; the other platforms follow the same shape with their own credentials.
03Connect Webflow
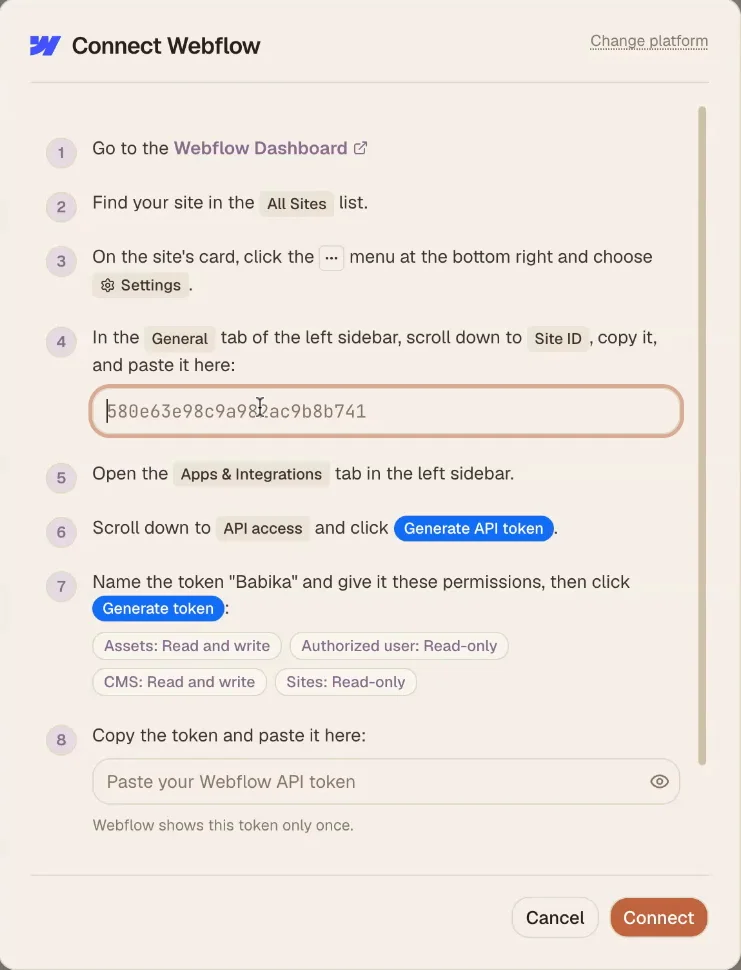
The connect dialog walks you through the two things Babika needs from your Webflow dashboard: your site's Site ID (Site settings, General tab) and an API token (Apps & Integrations tab, API access, Generate API token). Name the token "Babika" and give it these permissions: Assets read and write, Authorized user read-only, CMS read and write, Sites read-only.
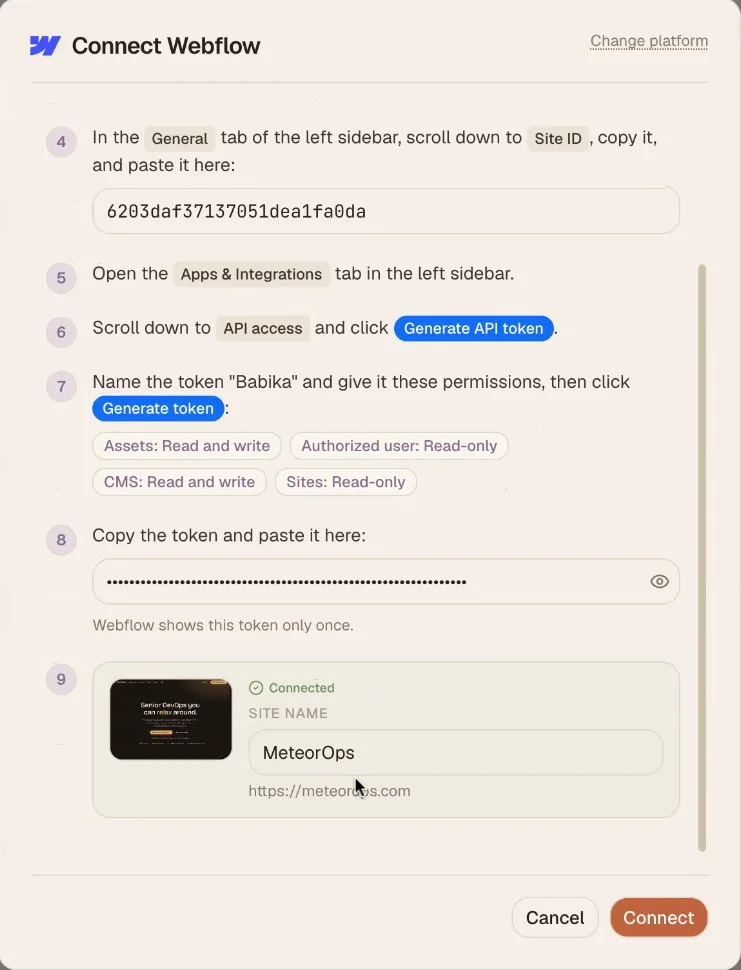
Webflow shows the token only once, so paste it straight in. Babika verifies the connection immediately and shows your site's name and URL, so you know you connected the right site before anything syncs. Click Connect.
04Sync and back up
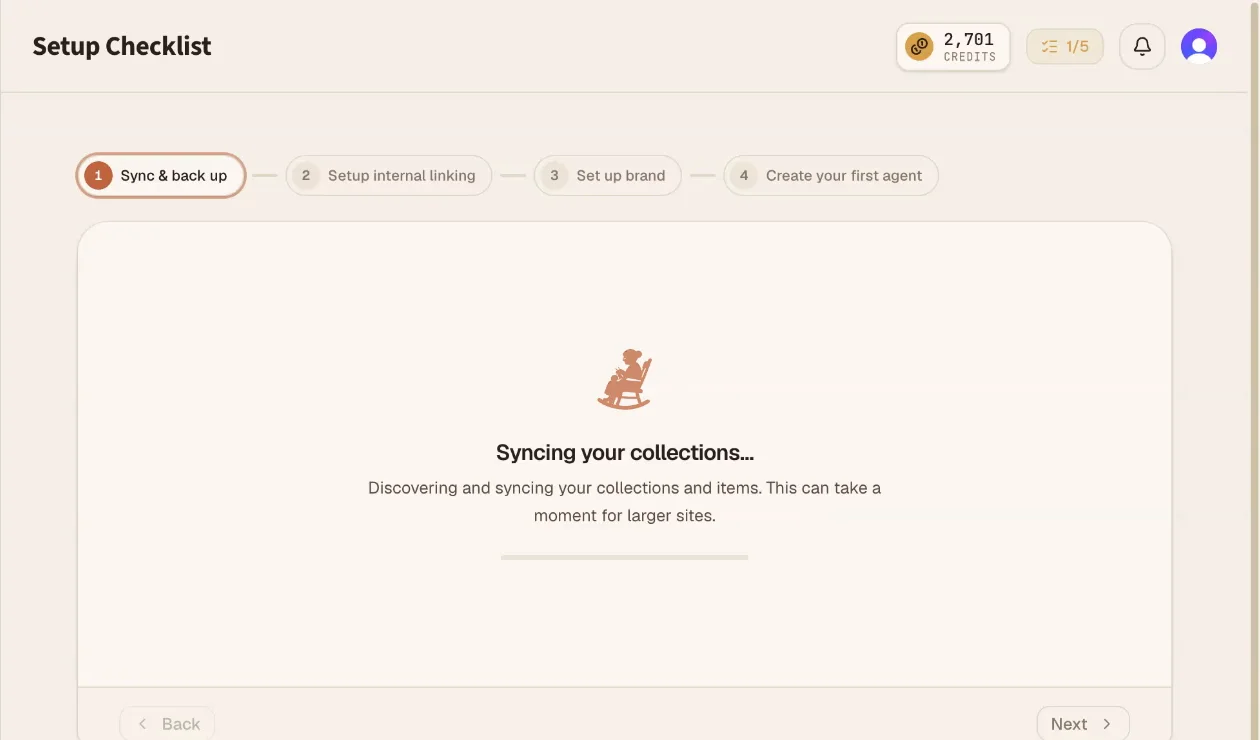
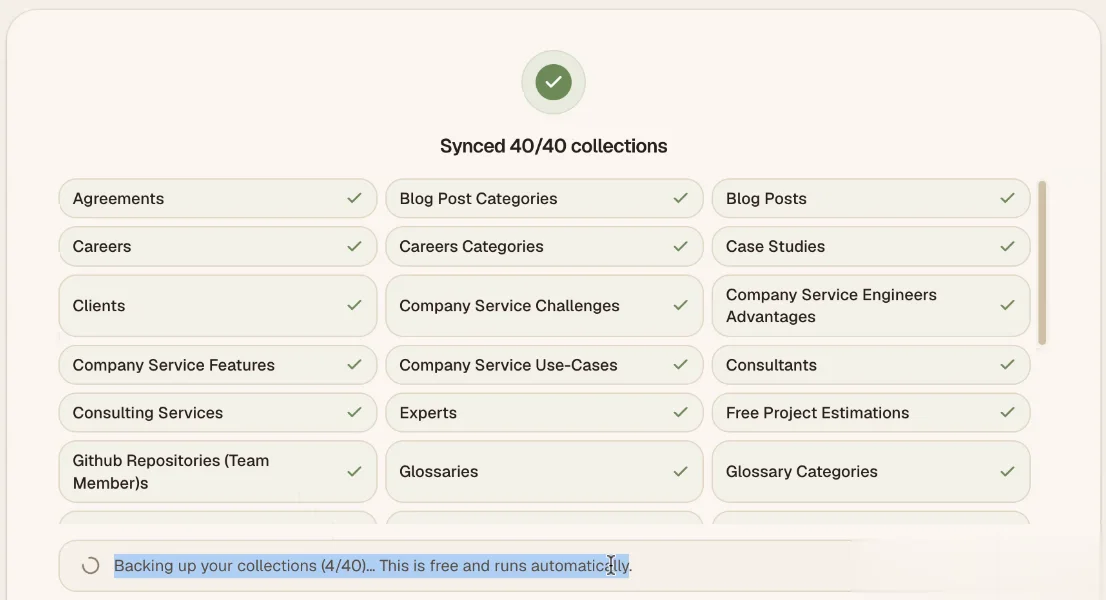
Babika now discovers and syncs every collection and item from your CMS. Once it finishes, your entire CMS content lives in Babika too, ready to manage from one place.
Right after the sync, Babika automatically snapshots all of your content. That backup is free, runs on its own, and means your Webflow or WordPress content has a restore point from day one, whether or not you ever generate a word with Babika.
05Set up internal linking
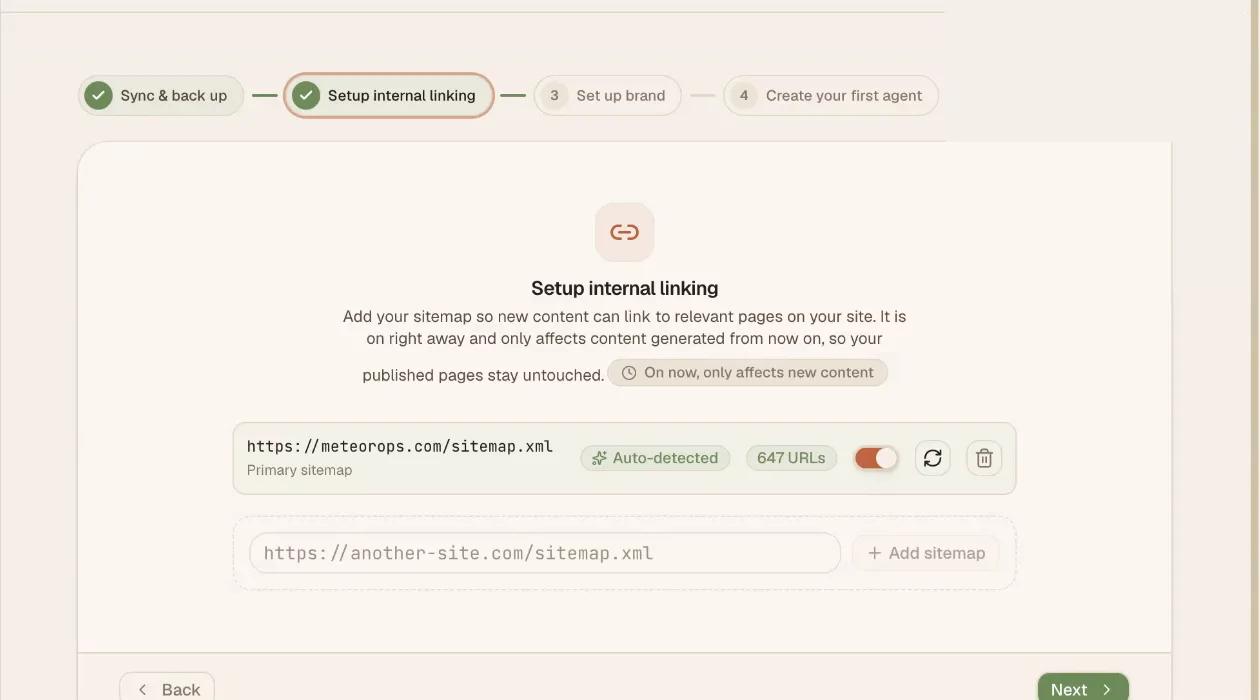
Babika finds your sitemap automatically and uses it to inject internal links into content it creates, so new pages link to relevant existing ones. It only affects content generated from now on; your published pages stay untouched. You can add more sitemaps here if you want links to point at another site of yours too.
06Teach Babika your business
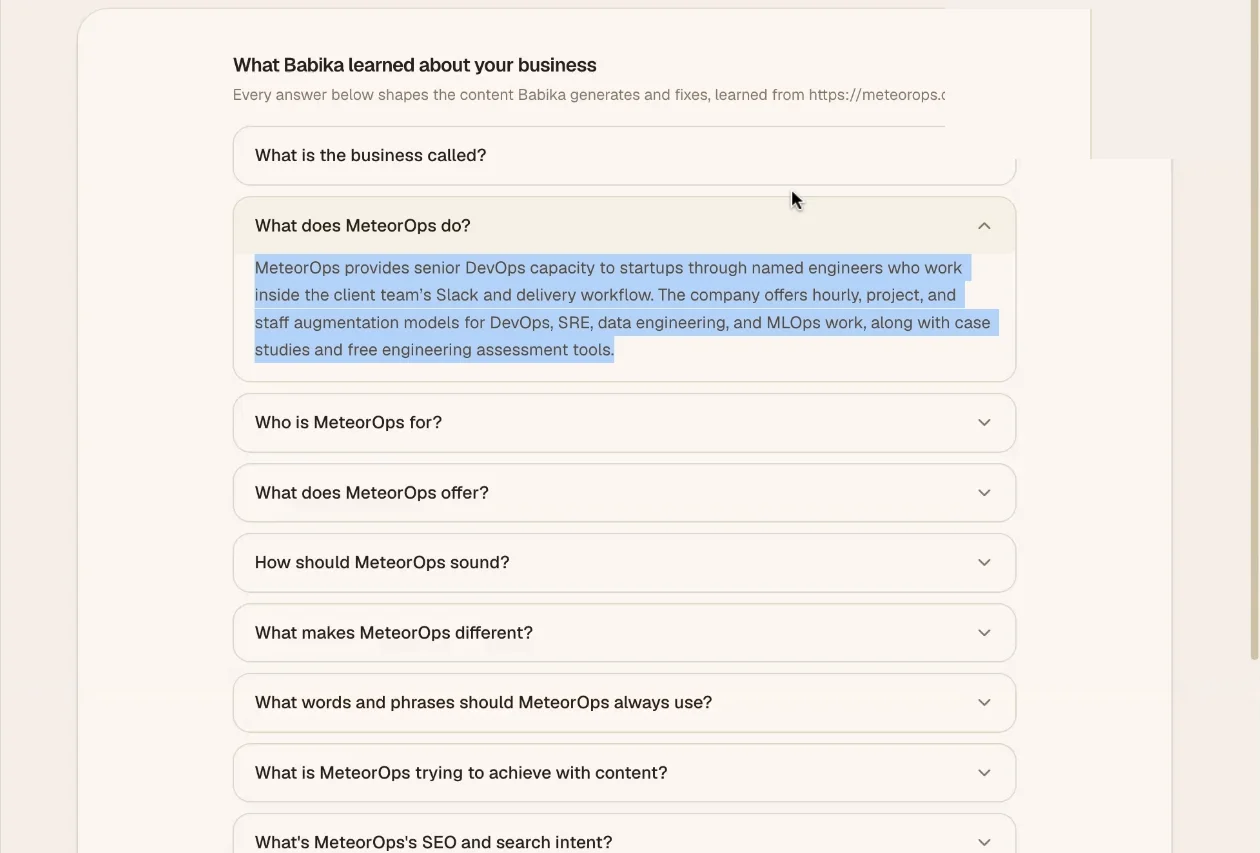
Next, Babika studies your site and learns what your business is: what it's called, what it does, who it's for, what you offer, and how you should sound. Every answer is editable, and all of it becomes context when Babika creates content, so a blog post can end with a call to action for a real offer on your site instead of something generic.
07Explore your workspace
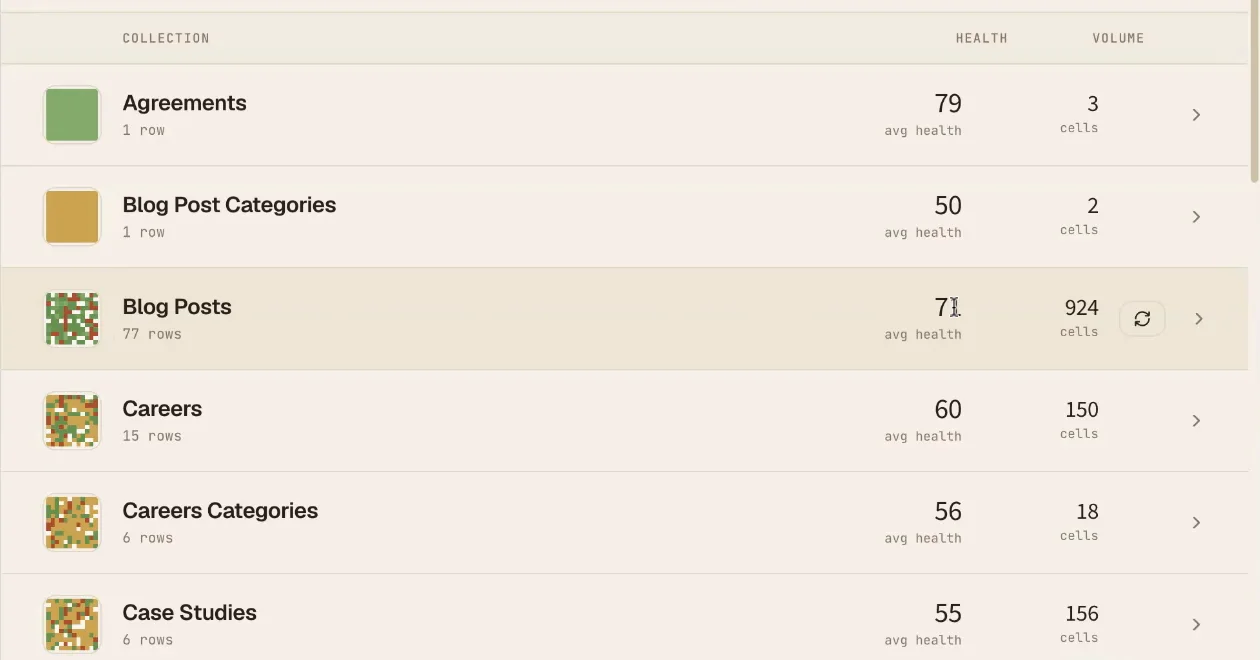
The last checklist step offers to create your first agent; you can do it there or skip it and land in your workspace. Every collection shows a colored health mosaic, its average health, and how many content cells it holds. Empty required cells score zero, and content that hasn't been refreshed in a long time scores lower, so the colors point you straight at what needs attention.
08Run your first agent
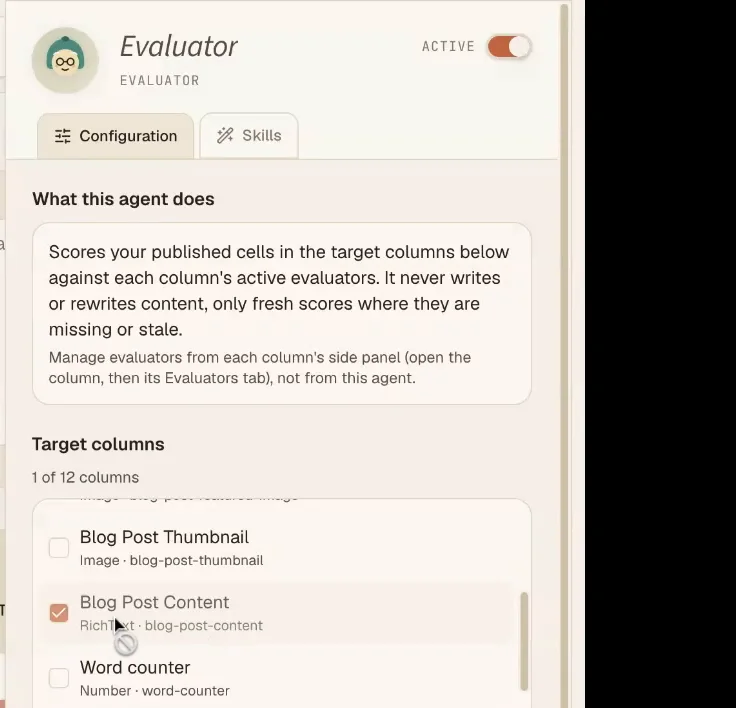
Open a collection and add an agent from the AI tab. An Evaluatoris the safest first agent: it scores your published content against each column's evaluators and never writes or rewrites anything. Pick the columns to score, set the cadence (for example every 60 minutes, up to 5 cells per run), and click Add agent.
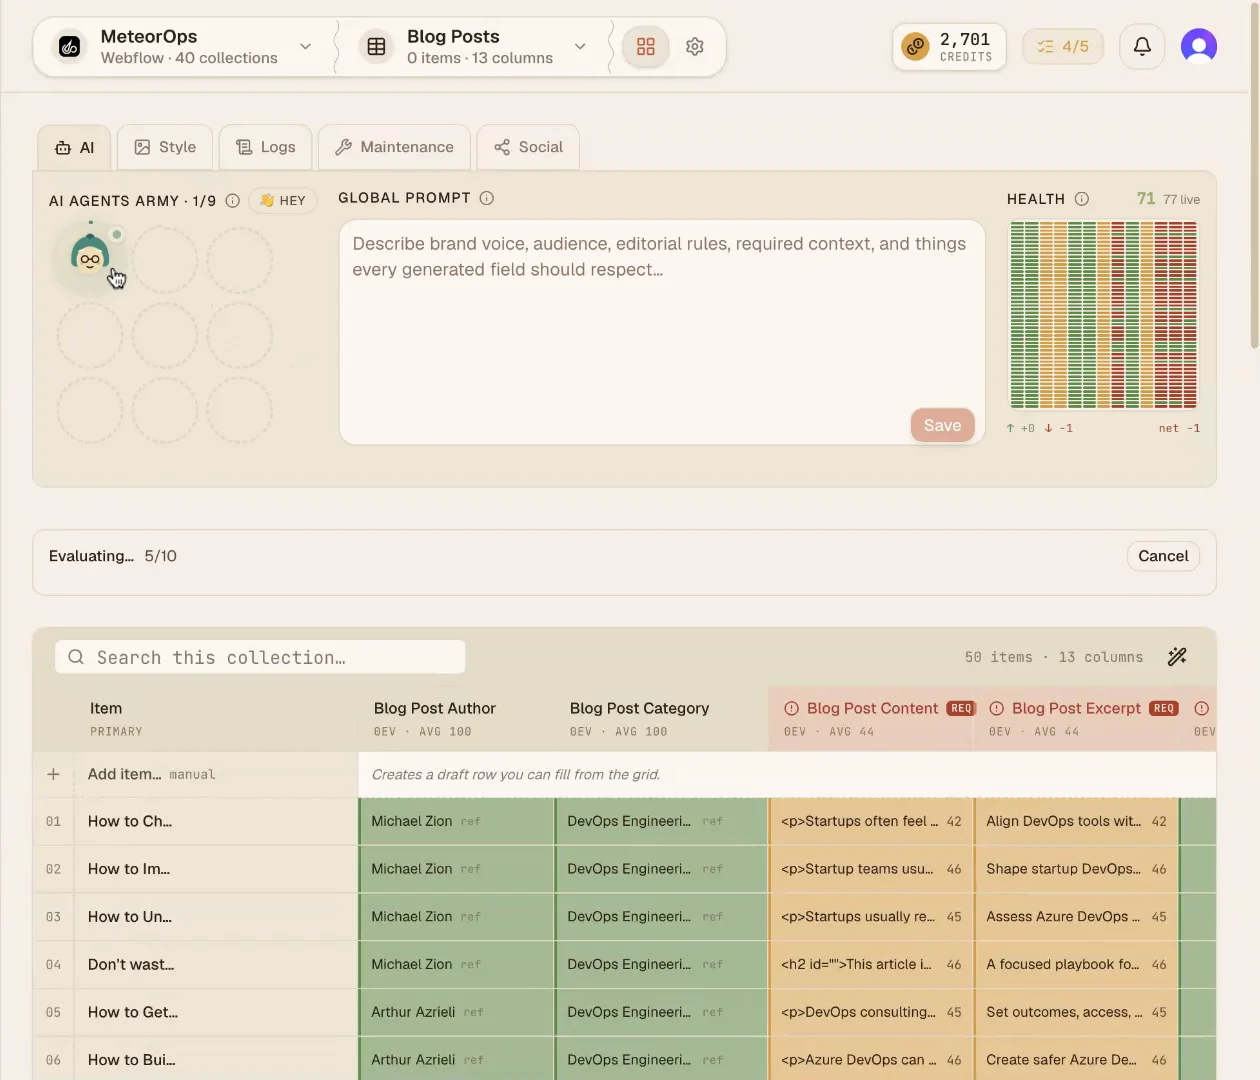
The agent runs on its schedule, but you can trigger a run right away. Its logs show what it's doing, and the collection header tracks progress while cells get their scores.
09Read your scores
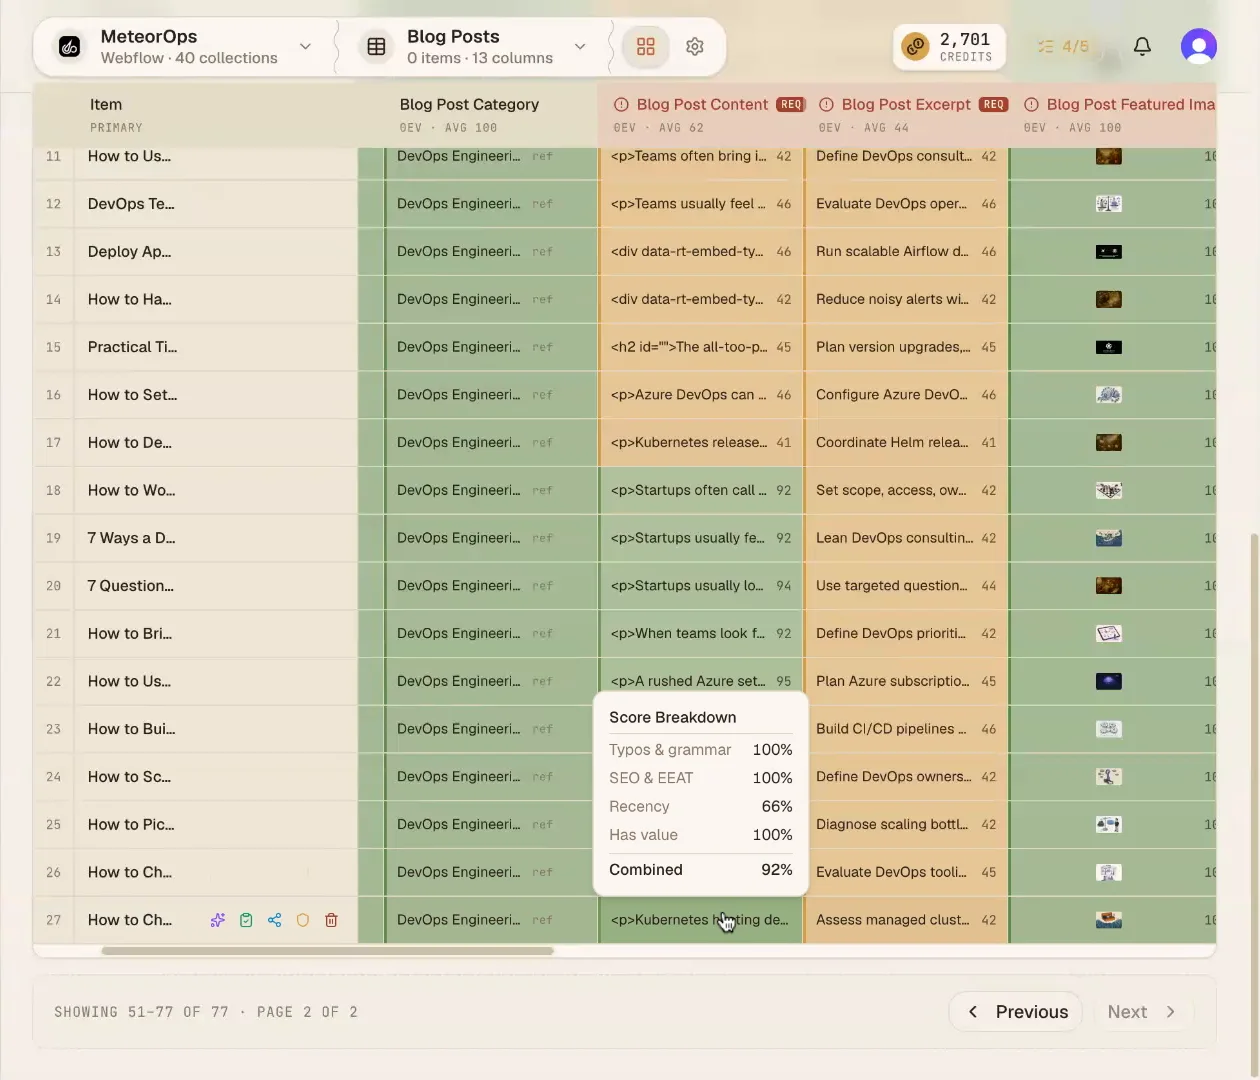
Once cells are evaluated, hover any score to see its breakdown: typos and grammar, SEO and EEAT, recency, and whether the content actually delivers value, combined into one number. That combined score is what the health colors are built from, and it tells you exactly why a page ranks well or needs work.
What's next
Your data is connected, backed up, and scored. From here, agents can suggest new content ideas, fill empty cells, improve what's underperforming, and publish drafts back to your CMS: drafts by default, so anything below your quality bar is held back, not published. Questions or stuck on a step? Email us at hello@babika.ai.